 means your appliance is connected and ready for scanning.
We recommend these steps before scanning.
Define Amazon EC2 API Proxy Settings
Check EC2 Assets are activated
Configure security groups for the EC2 instances to be scanned
Go to Scans > Appliances to ensure your appliance is connected to the Qualys Cloud Platform.  means your appliance is connected and ready for scanning.

This step is required if you've defined Proxy Server in the User Data field during the scanner deployment. Your EC2 scan won’t work if you do not perform this step.
Go to Scans > Appliances and edit your EC2 Virtual Scanner Appliance. The Proxy Settings tab is where you'll tell us about your proxy server, including hostname and/or IP address, port and proxy credentials (if required by proxy server).
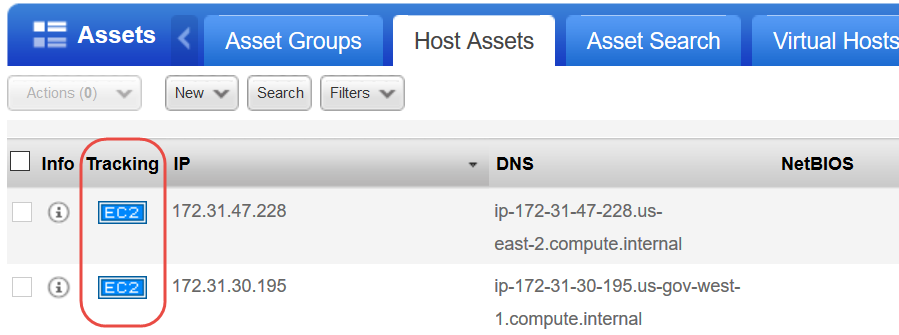
Check that your EC2 hosts are activated and have the EC2 tracking method. You can see this in VM on the Host Assets tab and in AssetView on the Assets tab.

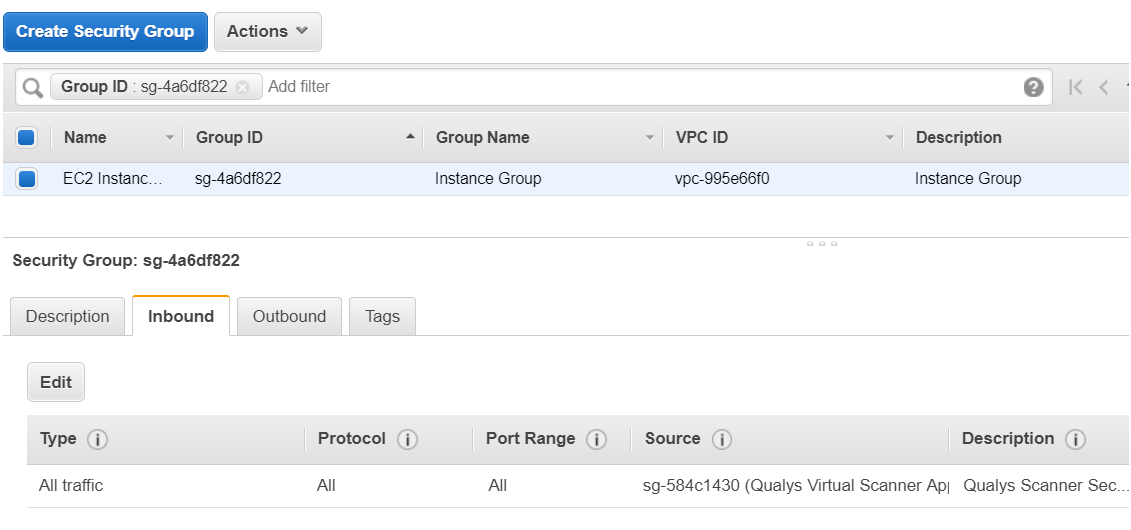
In AWS, you must associate a security group that allows inbound access on all ports for the IP address of the scanner appliance or the security group of the scanner appliance. Here is the sample security group assigned to the EC2 instance allowing inbound access on all the ports for the security group of Qualys Virtual Scanner Appliance.

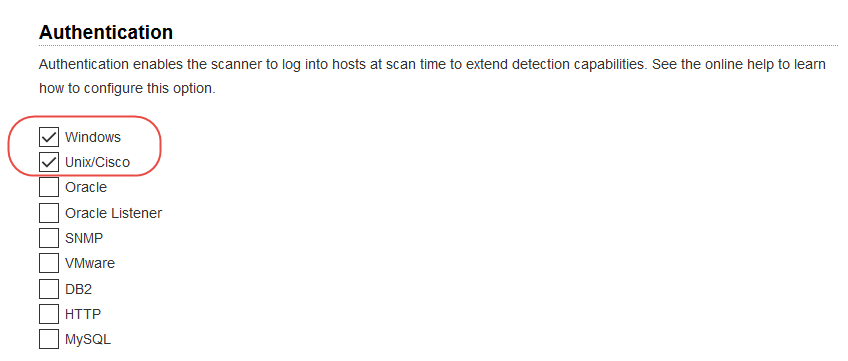
You'll want to set up Windows and/or Unix authentication records for your EC2 instances and enable these authentication types in your scan option profile.
Go to Scans > Option Profiles. Edit the profile Initial Options, use Save As to save a copy with another name. In your new profile, enable the authentication types you’ll need.

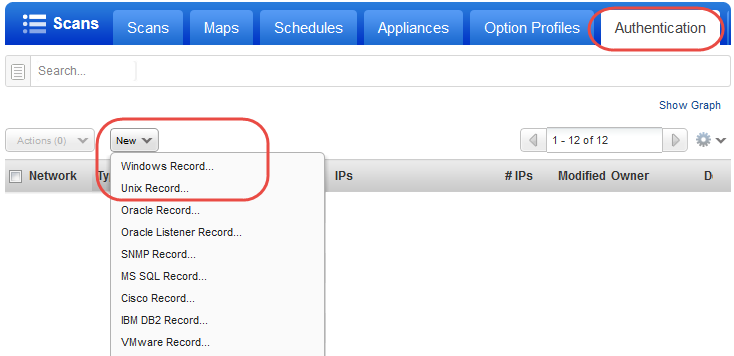
Go to Scans > Authentication. Add authentication records for the EC2 instances you’ll be scanning - Unix and/or Windows. In the record, you’ll need to add credentials for the account to be used for authentication - this is an account for OS user (not the AIM user). We recommend you create a dedicated account for authentication on target systems.
